Freestanding Floor Vanities: Sizing and Layout Guide
Getting a freestanding vanity right is as much about the numbers as the looks — the width against the wall, the clearance to the door, and where the water connections land. A poly-white floor-standing unit is forgiving to fit, but it still pays to plan. This guide walks through sizing and rough-in.
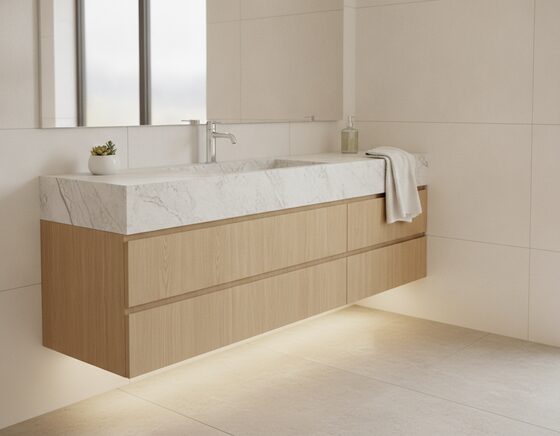
Sizing the vanity to the room
Start by measuring the clear wall run, then subtract space for the door swing, any towel rail and comfortable movement around the basin. As a rule of thumb, leave enough clearance that the vanity doesn’t clash with an opening door or crowd the toilet. A narrower unit that leaves room to move usually beats the widest one that technically fits — a bathroom you can move around in feels bigger than the drawer space suggests.
Planning the water connections
Freestanding units hide the plumbing behind a kickboard, but the connections still have to land in the right place. Decide early whether the waste comes through the floor or the wall, since that changes what storage sits usable underneath. Note the tap inlet positions too, so they line up with the basin and the tap holes in the top. Sort this before the plumber sets the rough-in — moving pipes after tiling is expensive.
Storage and finish
On a floor-standing cabinet, drawers make better use of the depth than a single cupboard, and a poly-white PVC finish keeps the unit bright and easy to wipe in a wet room. Keep at least one cupboard for taller items, and match the tapware to the basin so the bench stays clear.
See sizes and layouts locally
Renovating near Wollongong? Seeing units set up helps you picture the fit — you can explore a range of bathroom vanities at Just Bathrooms, a local showroom, to compare sizes.